As an Amazon Associate I earn from qualifying purchases.
Imagine this: You’ve just finished a magical week at Disney, but now you’re standing in a security line that looks like it belongs in the Guinness World Records. Your kids are crying, your phone battery is at 4%, and you just heard the final boarding call for your flight echo across the terminal. Unfortunately, this is the ‘MCO Nightmare’ that happens to thousands of travelers every single day.
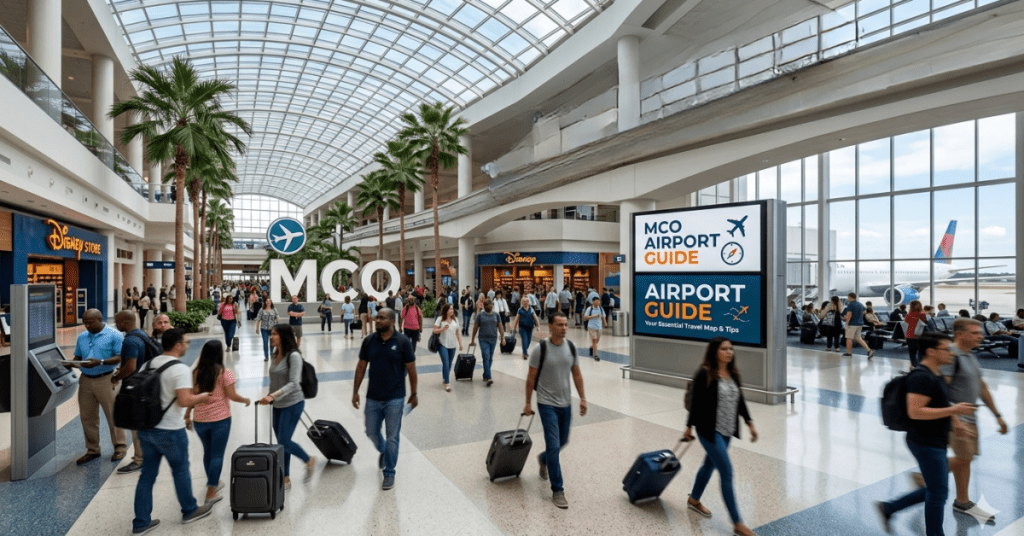
However, your trip doesn’t have to end this way. Whether you are a first-time visitor or a frequent flyer, this MCO Airport Guide will ensure you navigate the chaos like a pro. Traveling through Orlando International Airport can feel easy… or completely overwhelming. It really depends on how prepared you are. Specifically, after a few trips through MCO, I’ve learned some things the hard way.
As a result, I’ve put together these Orlando International Airport Tips to help you avoid the stress and actually enjoy your journey.
How Early Should I Arrive at Orlando International Airport?
Travel Scenario | Recommended Arrival Time | Why It Matters |
Domestic flight (carry-on only) | 2 hours early | Enough time for security + tram |
Domestic + checked bags | 2.5–3 hours early | Check-in lines can be long |
Budget airlines (Spirit/Frontier) | 3+ hours early | Slower check-in + long lines |
Peak travel (holidays/spring break) | 3+ hours early | Heavy crowds + delays |
Traveling with kids | Add 30–60 mins | Slower movement through airport |
Where is the MCO Rental Car Level? (And How to Get There Fast)

First, once you land, follow the signs to the tram. Orlando’s airport is not one single building. You’ll need to ride a tram to get back to the main terminal.
After that, head DOWN TO Level 2 of the parking garage. This is where all the rental car counters are located.
To save time::
- Have your reservation ready on your phone
- Skip extra add-ons at the counter if you can
- Choose “pick your own car” options when available
That way, you’re not standing around after a long travel day.
2. Avoid Extra Fees: Use the Visitor Toll Pass in Orlando
Next, if you’re driving in Orlando, toll roads are everywhere. And honestly… they add up fast if you’re not prepared.
Instead of using the rental car toll program, look into the Visitor Toll Pass.
- Reserve it ahead of time
- Pick it up at the airport
- Pay only the actual tolls
Because of this, you avoid daily fees and surprise charges later. If you want to read more details visit the Visitor Toll Pass Website.
Pro Trip:
The Visitor Toll Pass must be returned back at MCO or you will be charged $10.
3. Navigating the MCO Terminal Layout: Don't Forget the Tram!
Before your return flight, take a few minutes to understand the layout.
MCO has a main terminal, and then separate gate areas (called Airsides). So after security, you’ll take a tram to your gate.
If you don’t plan for this, it can feel rushed at the last minute. That’s why I always build this into my routine. It’s part of how I approach the travel planning experience now, especially when I’m trying to avoid last-minute stress.
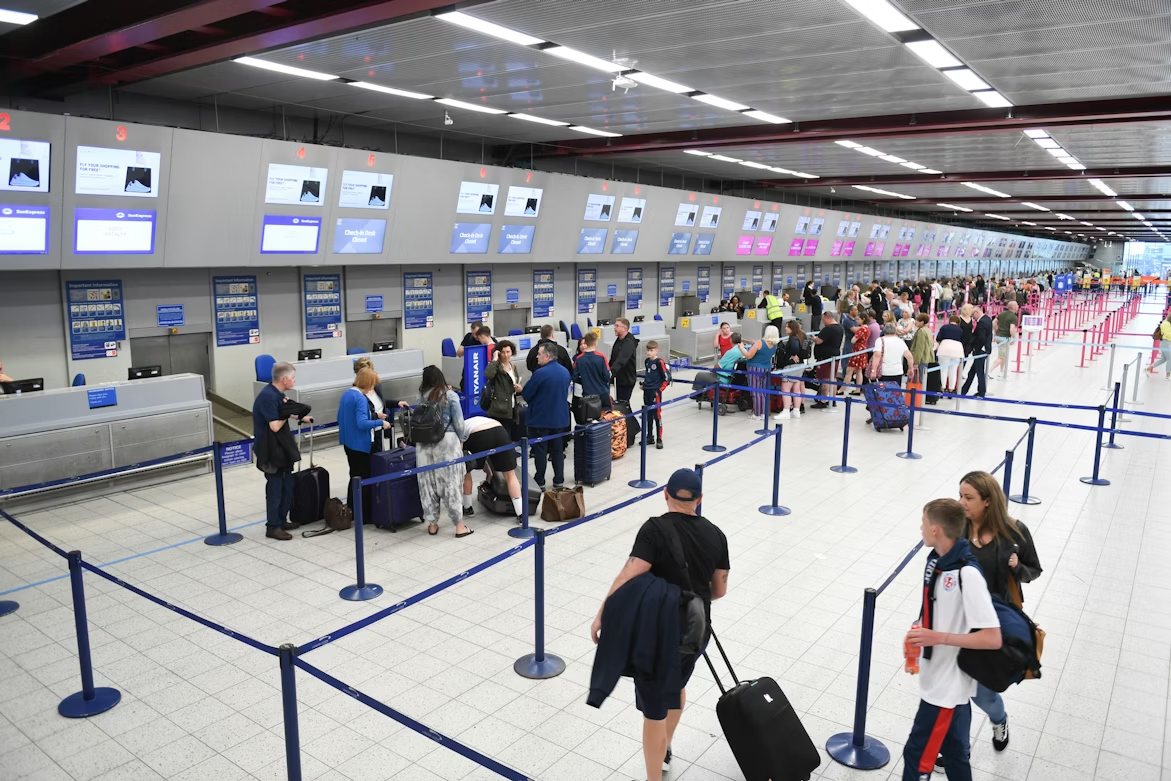
4. Flying Spirit or Frontier? Why Budget Airlines Need Extra Time at MCO
Specifically, this is the one part of the airport experience that caught me completely off guard. On one trip, we arrived more than three hours early and thought we were in great shape. However, the check-in line for Spirit Airlines was extremely long and barely moved for over an hour.
By the time we finally got close to the counter, the agent told us that if we had been just one more person behind in line, we would’ve been cut off and forced to reschedule our flight. So yes, even arriving early doesn’t always save you at a busy hub like Orlando.
Because of that experience:
- I always allow extra time for check-in now.
- Furthermore, I check in online whenever possible.
- As a result, I avoid checking bags if I can to skip the counter entirely.
In fact, if you’re flying budget carriers, carrying the right gear is the best way to bypass these bottlenecks. You can read my full breakdown on Is the LOVEVOOK 40L Really a Spirit and Frontier Approved Personal Item? to see how it helps you move through the airport faster. Ultimately, having the best personal bag for Spirit Airlines can make a massive difference in how quickly you get through the terminal and to your gate.
MCO Travel Flow: Step-by-Step

Step | What to Expect | Tip |
Arrival | Tram to main terminal | Follow signs carefully |
Check-in | Airline counters | Budget extra time |
Security | Can be unpredictable | Use PreCheck if possible |
Post-security | Tram to gate | Don’t forget this step |
At gate | Limited food options | Grab food earlier |
5. Give Yourself More Time Than You Think
Furthermore, even after check-in, unexpected issues can still slow you down. Specifically, MCO security wait times can change rapidly depending on staffing levels and sudden passenger surges. So, while two hours might work on a quiet Tuesday, it is rarely enough to avoid MCO crowds during peak hours.
As a result, you should always aim for extra buffer time to account for potential Orlando airport delays, especially during:
- Early mornings (often the busiest time for departures)
- Weekends
- Holidays and spring break
In contrast to the midday rush, the best time to fly from MCO to ensure a shorter wait is typically late at night or very early in the dawn hours. Regardless of when you fly, if you’re trying to move faster through the terminal, having a solid system like a Carry-On Packing List For a 5-Day Trip can really help you stay organized and bypass security bottlenecks.
6. Use TSA PreCheck or CLEAR If You Can
If you travel even a few times a year, this makes a difference.
TSA PreCheck and CLEAR can help you move through security much faster. And at a busy airport like MCO, that can completely change your experience.
Even on crowded days, you’ll usually get through with less hassle.
7. MCO Security Wait Times: Tips to Get Through Faster

At this point, a little organization goes a long way. Organizing travel items, such as keeping liquids accessible and electronics in dedicated, easy-access compartments, ensures a faster, lower-stress experience at airport security.
Using specialized organizers and choosing a bag with a 180-degree, suitcase-style opening—such as the one detailed in this LOVEVOOK 40L Review: Best Budget Travel Backpack—simplifies the process of passing through checkpoints without unpacking your entire bag.
For example:
- Keep liquids easy to grab
- Wear shoes that slip on and off
- Have electronics ready
As a result, you move through security faster and with LESS STRESS.
8. Plan for the Tram Ride to Your Gate
After security, you’re not done yet.
You’ll need to take a tram to your gate. While it’s quick, it still adds time. And if you’re rushing, it can feel stressful.
So build in a few extra minutes here… just in case.
9. The Best Orlando Airport Lounges for a Stress-Free Wait
Finally, if you do arrive early and everything goes smoothly, take advantage of it.
Airport lounges can be a great way to reset before your flight.
If you have a travel credit card, you may already have access. If not, some lounges offer day passes.
Inside, you’ll usually find:
- Snacks and drinks
- Comfortable seating
- Charging stations
- A quieter space
Honestly, after a busy airport like MCO, that quiet space feels worth it. Airport lounges, accessible via credit cards or day passes, provide a quiet, comfortable space to relax before flights.
To make the experience more accessible, consider finding the Best Flight Deals Without the Stress, which helps offset costs. For more insights, read the full article at Style-N-Voyager.
Beyond MCO: Heading From Orlando to the Beach?

Specifically, many travelers landing at Orlando International Airport aren’t staying in the city; they are heading straight for the coast. Whether you are driving to the Atlantic side or the Gulf, your Florida vacation packing essentials will change the moment you leave the terminal.
As a result, you need to ensure your carry-on is stocked for the sun. For example, before you hit the sand, check out my guide on the Best Reef-Safe Sunscreen For Beach Travel to protect the ocean while you tan. In addition, staying organized is much easier when you have the Best Beach Bag for Carry-On Travel, which I personally tested for durability and style.
Furthermore, don’t let a forgotten item ruin your coastal vibe. You can use my Complete Vacation Packing List to double-check your suitcase before you leave home. Specifically, I recommend grabbing the Best Beach Cover Ups and a Best Quick Dry Travel Beach Towel to ensure you stay comfortable and dry as you transition from the waves to the boardwalk.
Final Thoughts: Mastering the MCO Experience
Traveling through Orlando International Airport doesn’t have to feel overwhelming. However, a little planning goes a long way in ensuring your trip starts on a high note.
From long check-in lines to unexpected delays, it’s often the small things that cause the most stress. But with these Orlando International Airport tips, you’ll be ready for all of it. Consequently, next time you fly, you might actually enjoy the process a little more.
Frequently Asked Questions
How early should I arrive at Orlando International Airport?
Most travelers should plan for at least 2 hours before a domestic flight. However, if you’re flying during busy seasons or using budget airlines, 3 hours is a safer buffer. Lines at check-in and security can change quickly, so extra time helps avoid last-minute stress.
Is Orlando International Airport easy to navigate for first-time travelers?
It can feel simple at first, but there are a few steps people don’t expect. After security, you still need to take a tram to your gate area. Because of that, it’s smart to give yourself a little extra time so nothing feels rushed.
What is the biggest mistake people make at MCO?
One of the most common mistakes is underestimating check-in lines, especially with budget airlines. Even if you arrive early, long lines can still cause delays. Another mistake is not accounting for the tram ride after security.
Is TSA PreCheck worth it at Orlando International Airport?
Yes, especially during busy travel times. Security lines can get long and unpredictable, so PreCheck or CLEAR can save a lot of time and reduce stress.
What’s the best way to handle rental cars at MCO?
Rental cars are located in the parking garage connected to the terminal. The process is fairly straightforward, but it helps to have your reservation ready and know where you’re going before you arrive to avoid confusion.
What should I do if I arrive early at the airport?
If everything goes smoothly, you can relax in a lounge, grab food, or just settle in near your gate. It’s also a good time to recharge devices and avoid rushing later